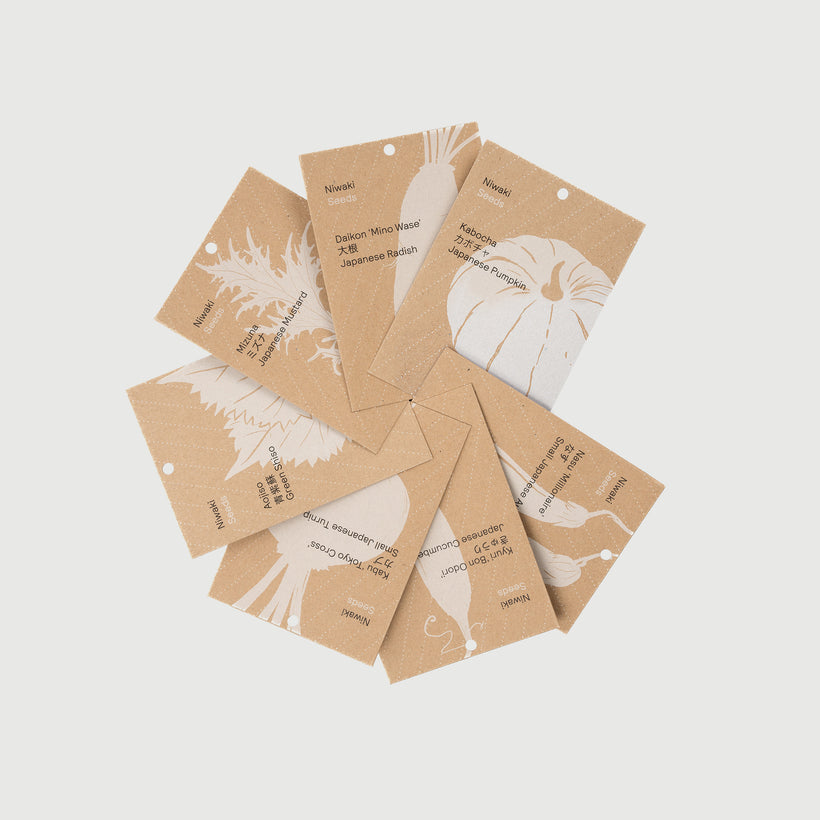


little tokyobike assembly guide
Assembly Guide Details
- Handlebar
- Stem
- Headset
- Headtube
- Seatpost
- Rear Axel
- Front Axel
- Pedal
- Training Wheel
- Tyres

Assembly Guide Tools & Steps
Tools
For proper assembly of your little tokyobike, the following tools are needed:
- 4, 5, 6mm Allen keys
- 13 & 15mm wrench
- 8, 9, 10mm socket wrenches
- Bike grease
Steps
The following pages detail each step of the assembly process for your little tokyobike:
- Stem & Seatpost
- Pedals
- Training Wheels
- Tyres
- Final Adjustments
Assembly Guide Stem & Seatpost
Begin by removing all packaging.
Lightly grease the inside of the headtube, the seatpost and the threads of each pedal - this prevents moisture and corrosion from entering the frame.Insert the stem and handlebars into the headtube. Note that you may have to loosen the bolt on top of the stem in order for it to fit inside the frame. Once inserted, tighten this bolt a little firmer than hand tight.
Make sure the handlebars are straight relative to thefront wheel.
Insert the seat post and firmly tighten (you will mostlikely have to adjust the height later for your littlerider).

Assembly Guide Pedals
Thread in the right and left pedal. The pedals are marked with either an “R” or an “L” - the right side of the bike is the “drive” side or the side with the chain.
This is very important as both sides are threaded inopposite directions. Each pedal will tighten whenturned toward the front of the bike.
Thread in first carefully with your hand, then tightendown with a 15mm wrench.

Assembly Guide Training Wheels
With a 15mm wrench, remove the pre-installed axlebolts and washers before installing the arm and stabilizer onto the bicycle. The arm should go between the two plain washers before tightening the axle bolts.
It’s best to set the training wheels a little bit off the ground so the rear wheel makes contact with the ground and the bicycle tips side to side very slightly - this will help your little rider learn to balance.
White caps are included to cover the axles on thefront and rear wheel.

Assembly Guide Tyres
Using a bike pump compatible with a Shrader valve, pump the tyres to a max of 35 PSI.

Assembly Guide Final Adjustments
Double check that all front and rear axle bolts, stem bolts are tight and that the handlebars are tight and straight. Set the saddle height and your little tokyobike is ready to ride!
tokyobike always recommend using a local bike shop or mechanic for assembly - please contact us with any questions sales@tokyobike.co.uk
